Creating Your Perfect Gallery Wall: A Step-by-Step Guide
Are you looking to add a personal touch to your home decor? A gallery wall is a fantastic way to showcase your personality, style, and cherished memories all in one space. Whether you’re a seasoned decorator or a beginner, creating a stunning gallery wall is easier than you think. In this guide, we’ll walk you through each step to help you design and assemble your own gallery wall masterpiece.
Step 1: Choose Your Wall
The first step in creating a gallery wall is selecting the perfect spot in your home. Consider areas such as a living room, hallway, or staircase wall where you have ample space to display your artwork. Make sure the wall is free from obstructions and receives good lighting to enhance your display.
Step 2: Gather Your Artwork and Decor
Next, gather the artwork, photos, and decor items you want to include in your gallery wall. This can range from framed prints and paintings to mirrors, shelves, and decorative objects. Mix and match different sizes, shapes, and textures to add visual interest to your display.
Step 3: Plan Your Layout
Before hanging anything on the wall, it’s essential to plan your layout. Lay out your artwork on the floor and experiment with different arrangements until you find a composition that you love. You can organize your pieces symmetrically for a clean, balanced look, or opt for a more eclectic arrangement with varied spacing and angles.
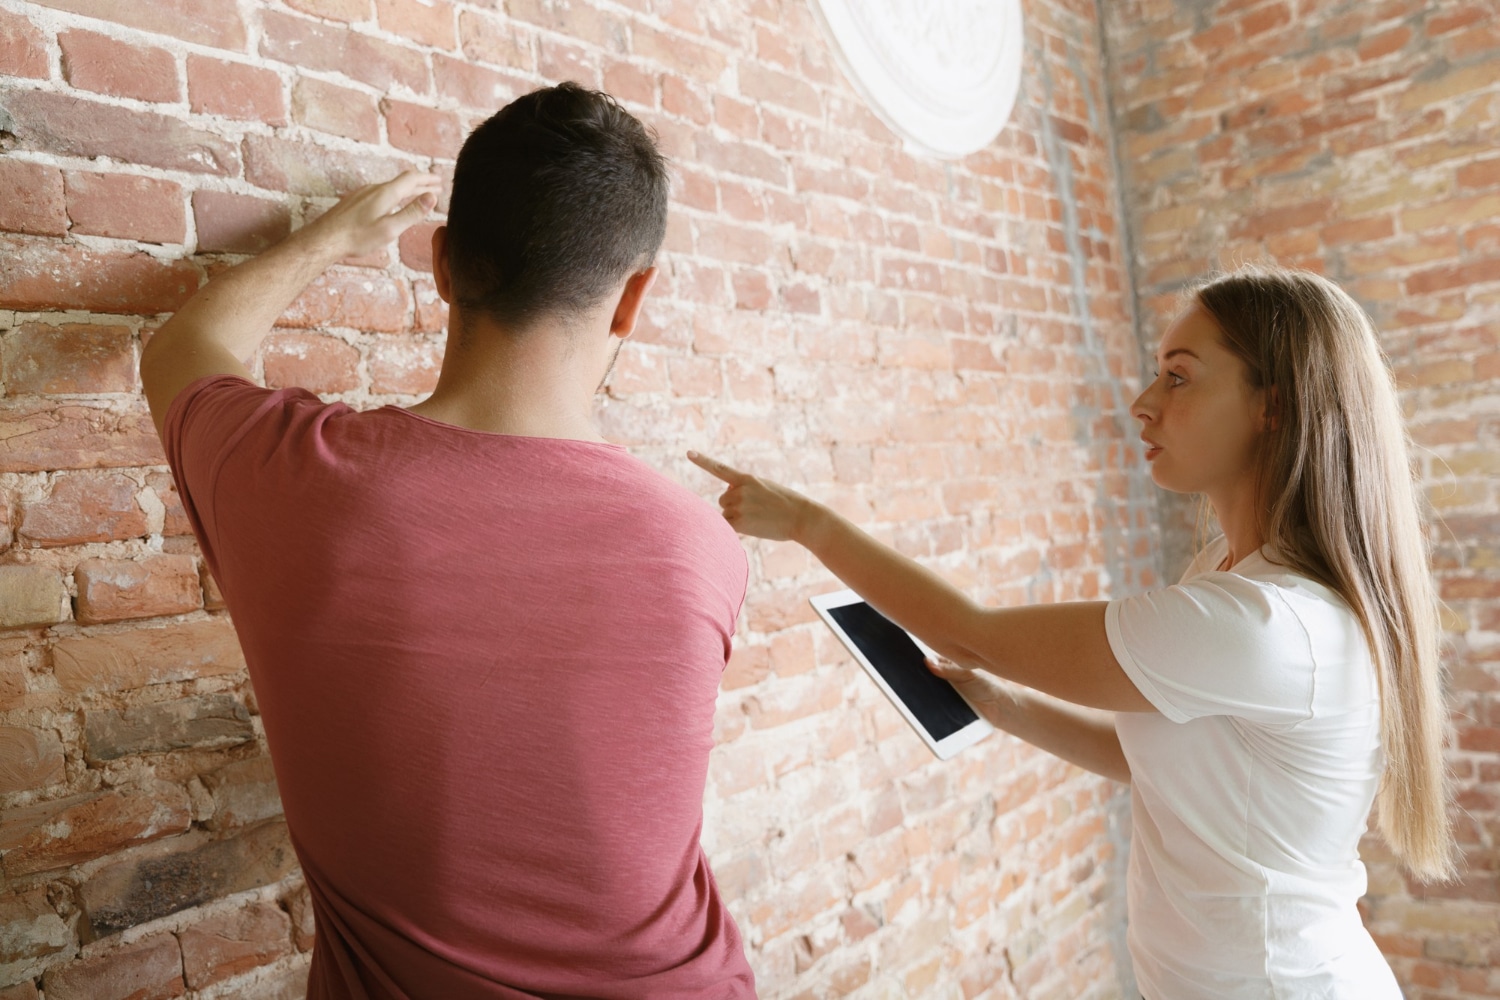
Step 4: Measure and Mark
Before hanging anything on the wall, it’s essential to plan your layout. Lay out your artwork on the floor and experiment with different arrangements until you find a composition that you love. You can organize your pieces symmetrically for a clean, balanced look, or opt for a more eclectic arrangement with varied spacing and angles.
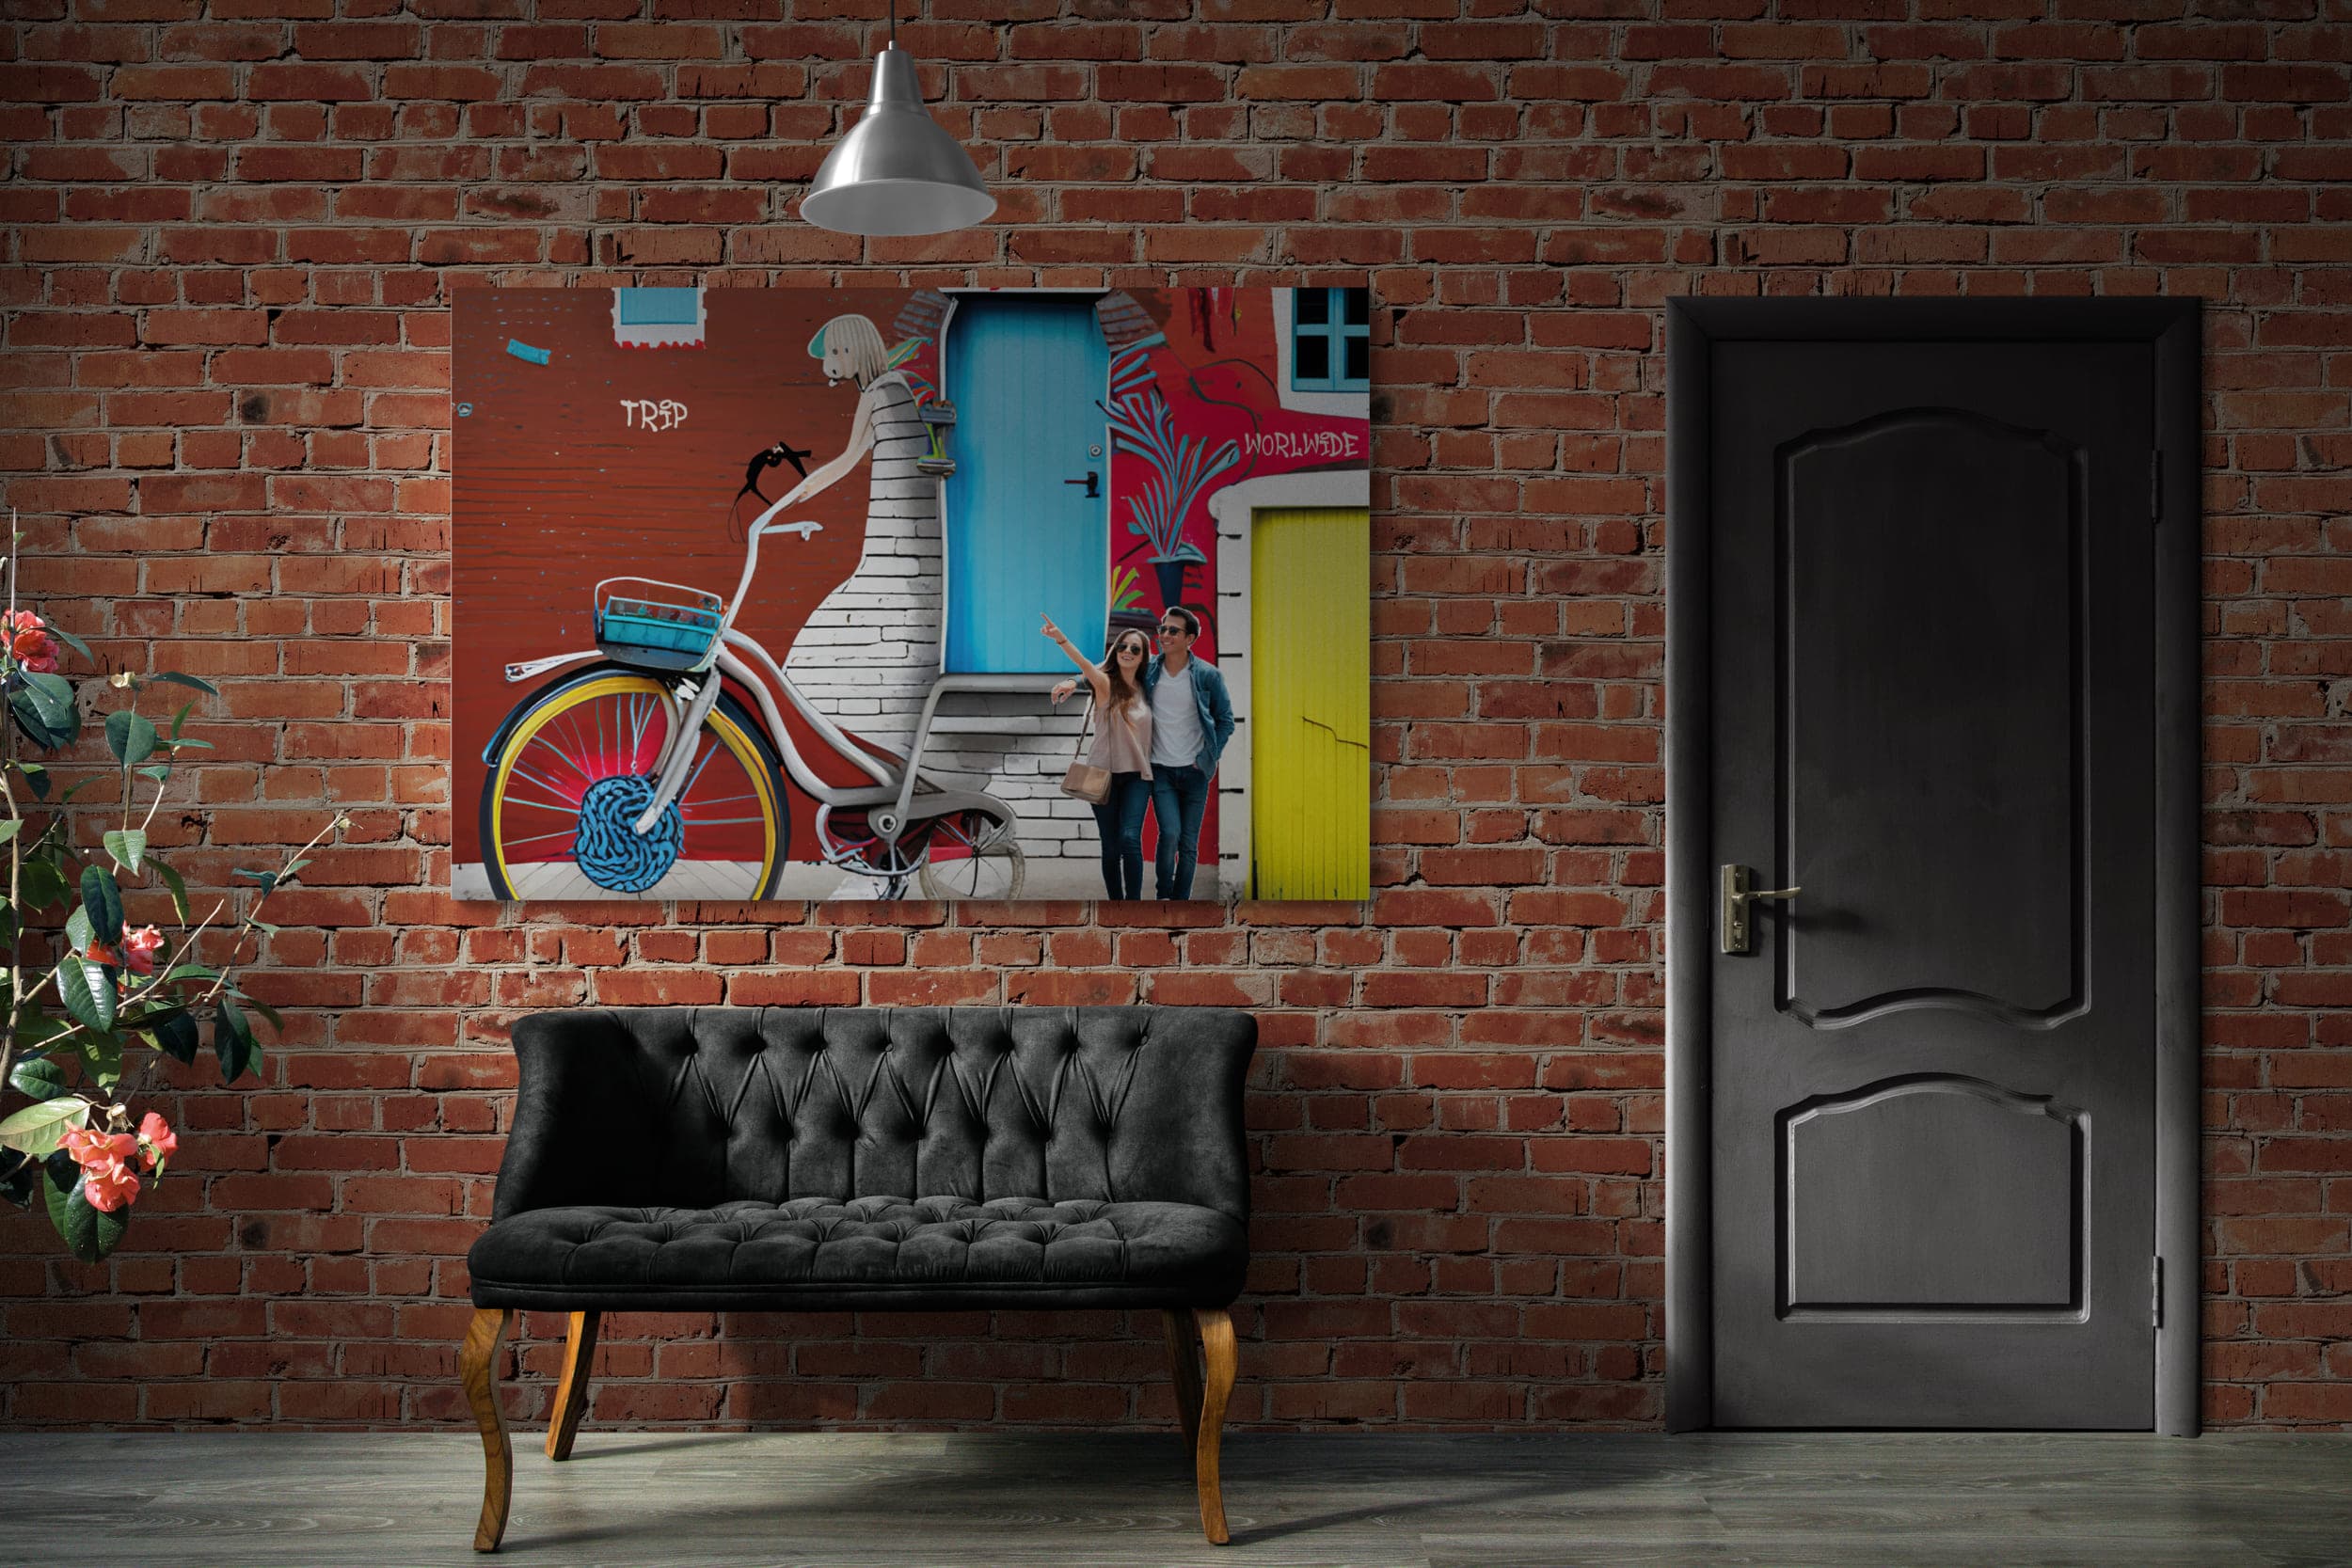
Step 5: Hang Your Artwork
Now comes the fun part – hanging your artwork! Start by hanging the largest or central piece first, using a hammer, nails, or picture-hanging hardware. Then, work outward, adding the remaining pieces according to your layout. Use a level to ensure your artwork is straight and evenly spaced.
Step 6: Add Finishing Touches
Once all your artwork is hung, step back and admire your handiwork. Make any necessary adjustments to the placement or spacing of your pieces until you’re satisfied with the overall look. Consider adding finishing touches such as decorative accents or lighting to enhance your gallery wall further.
Step 7: Enjoy Your New Gallery Wall
Congratulations – you’ve successfully created your own gallery wall! Now, take a moment to enjoy your personalized masterpiece and the stories it tells. Whether it’s showcasing family photos, travel memories, or your favorite artwork, your gallery wall is sure to be a conversation starter and a focal point in your home for years to come.
In conclusion, creating a gallery wall is a creative and rewarding project that allows you to express your unique style and personality. With careful planning and attention to detail, you can design a gallery wall that transforms your space and brings joy to your everyday life. So, roll up your sleeves, gather your artwork, and let your creativity soar as you embark on this exciting decorating adventure!